Welcome to our comprehensive guide on installing false ceilings in homes. If you’re looking to enhance the aesthetic appeal of your living space and add a touch of sophistication, a false ceiling is an excellent choice. In this step-by-step guide, we’ll walk you through the entire installation process, ensuring a seamless and professional finish.
Step 1: Planning and Design
Measure and Mark
Begin by measuring the dimensions of the room. Mark the desired height for your false ceiling, ensuring uniformity across the space. Precise measurements are crucial for a flawless installation.
Design Considerations
Consider incorporating features such as recessed lighting, cove lighting, or other architectural elements into your false ceiling design. This not only adds functionality but also elevates the overall aesthetics.
Step 2: Frame Installation
Install Metal Frames
Attach the metal frames to the ceiling using the electric screwdriver. Ensure they are securely anchored, providing a sturdy foundation for the gypsum boards.
Check for Level
Use a level to confirm that the frames are perfectly level. Any inconsistencies at this stage can lead to visible imperfections in the finished false ceiling.
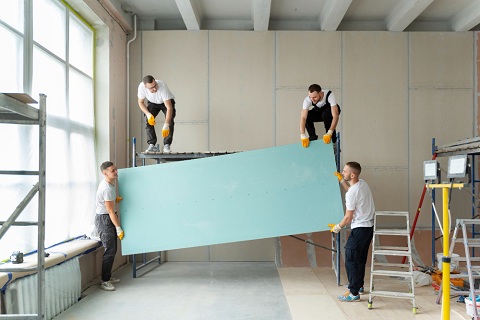
Step 3: Gypsum Board Installation
Cut and Fit Gypsum Boards
Measure and cut the gypsum boards to fit the metal frames. Secure them in place using screws, ensuring a snug fit. This is the foundation of your false ceiling, so precision is key.
Seamless Joints
Apply putty to the joints between gypsum boards. Once dry, sand the surface to achieve a smooth, seamless finish. Attention to detail during this step ensures a professional look.
Step 4: Finishing Touches
Primer and Paint
Apply a primer to the false ceiling before painting. Choose a high-quality paint that complements your interior design. A well-painted false ceiling enhances the overall ambiance of the room.
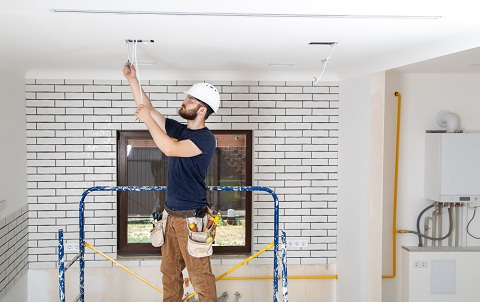
Lighting Installation
If you’ve planned for additional lighting elements, now is the time to install them. Follow manufacturer instructions for wiring and fixture placement.
Here are six frequently asked questions (FAQs) related to false ceiling installations:
False ceilings offer various benefits, including improved aesthetics, enhanced lighting options, and the ability to conceal wiring and pipes. They also contribute to better insulation, reducing energy costs.
Yes, false ceilings can be installed in almost any room. They are versatile and can be customized to suit different spaces, from living rooms and bedrooms to kitchens and bathrooms.
The installation time varies depending on the size and complexity of the project. On average, a professional installation may take a few days. DIY projects may take longer, especially for beginners.
Yes, false ceilings are relatively easy to maintain. Regular dusting and occasional cleaning with a mild detergent solution are usually sufficient to keep them looking pristine. Gypsum boards are durable and resistant to moisture.
Absolutely! False ceilings provide an excellent opportunity to incorporate recessed lighting fixtures. Proper planning during the design phase allows for seamless integration, enhancing both functionality and aesthetics.
Yes, false ceilings are a great solution for homes with low ceilings. By choosing the right design and materials, you can create an illusion of height and make the space appear larger and more open.
Conclusion
Congratulations! You’ve successfully installed a stunning false ceiling in your home. This step-by-step guide has provided you with the essential insights and techniques for achieving a flawless finish. Enjoy the transformed look of your living space with this elegant addition.